|
June 22nd - The council engineer was back out and turned the small shield around, closing up the gap between it and the front shield. It looked better and there has been another marginal improvement, but the piercing white light is still insufficiently shielded to block it completely.
I saw the engineer while he was working and went to chat with him. Unfortunately, the light design prevented the lamp from being angled down further. Depressingly, when I was chatting to him, he said I was unusual and that most people were complaining that LEDs weren't bright enough!! The pictures show the unshielded light on the 9th, poor shielding on the 16th, the comparison between the moved side shield and the most recent picture on the 23rd. All the night shots were around midnight with 30 second, f14, ISO100 exposures. June 24th - This morning, I still have cold, but late morning, dragged myself to the workshop to get the top rail attached to the rear wall. I was only in the workshop about half an hour or so, but came out completely wrecked and dripping with sweat. Something tells me I'm not well yet! June 29th - The council were
back out again and adjusted the offending lamp head to horizontal. It
appears that the light array is now totally hidden behind the shields.
While the overall light level in the garden hasn't changed that much
with the last change, the LED glare has once again been reduced by the
tilt change. Apparently some larger shields are on order and will be
fitted in due course. Thank you Durham Council, you've been most
helpful. |
|||
 |
 |
 |
 |
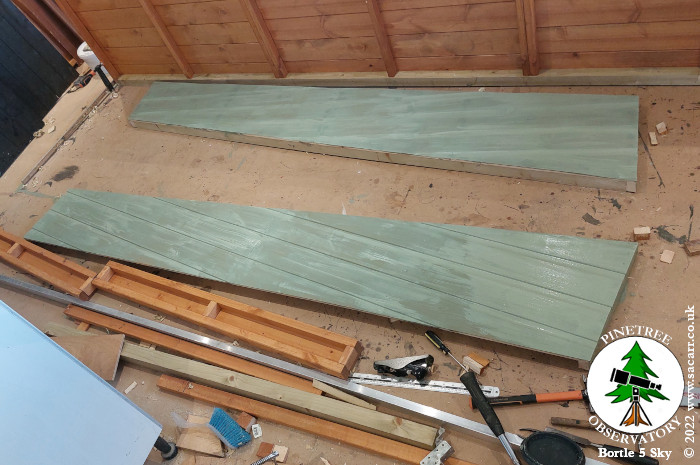
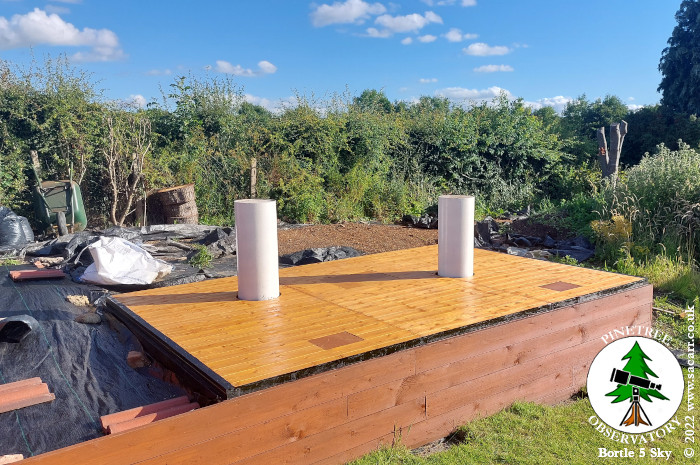
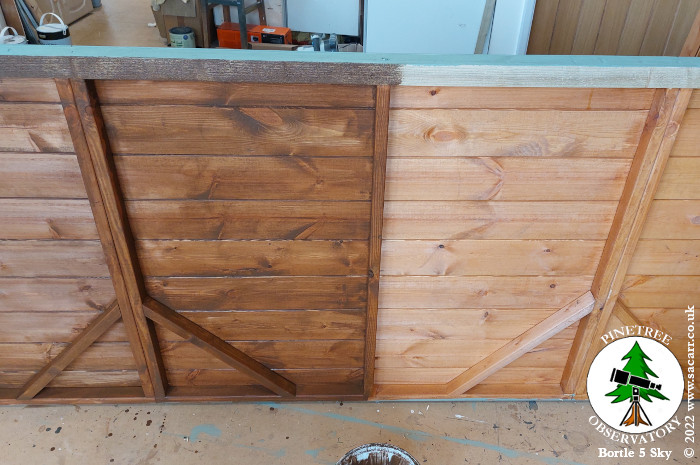
| July 1st - The nail hole filler on the rear wall was sanded and it was then given two coats of paint. July 2nd - The roof end walls
were given their first coat of paint. The observatory base was then
vacuumed of all the tree stump chippings and the floor panels brought
out for fitting. As the panels weren't quite square as delivered, they
took some faffing, cutting and adjusting to get the edges straight and
the same length. |
|||
 |
 |
 |
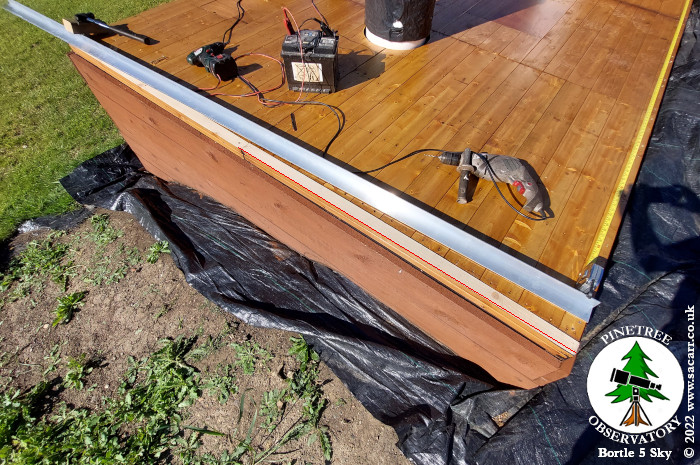 |
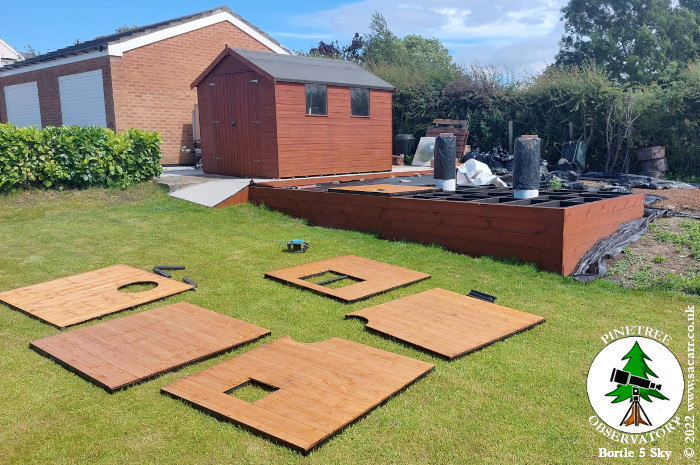
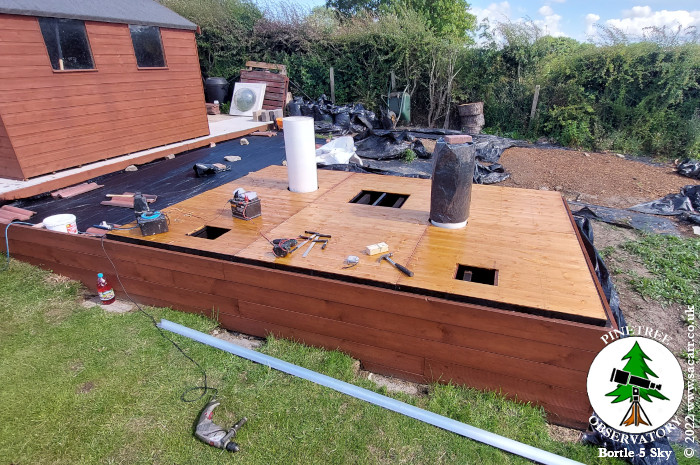
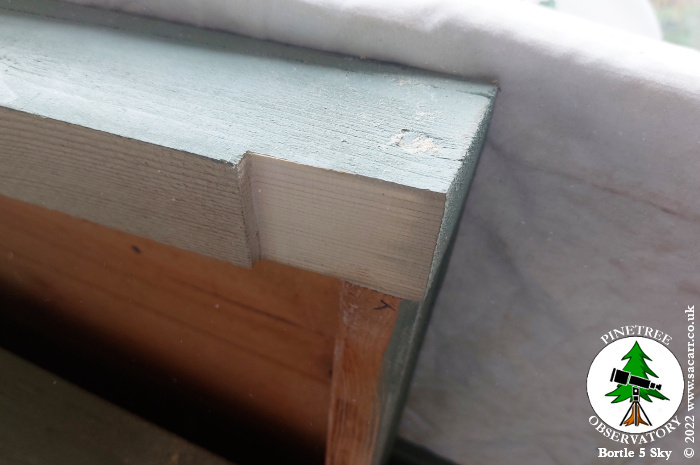
| By the end of the day, all the panels were in place, screwed down and the freshly cut edges painted in bitumen paint. A second coat of bitumen was added the following day before the rain came. July 4th - The end walls had
a notch chiseled to allow the front and rear panels to butt up against
the ends properly. |
|||
 |
 |
 |
 |
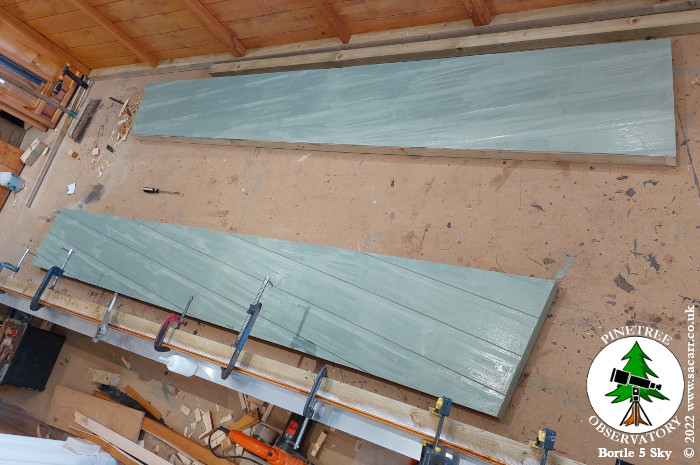
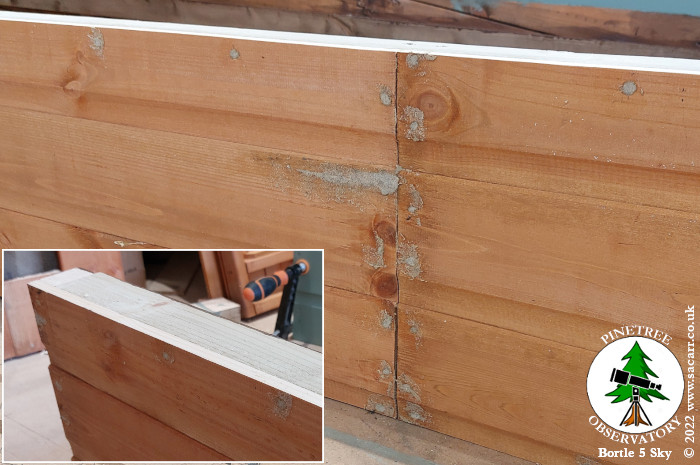
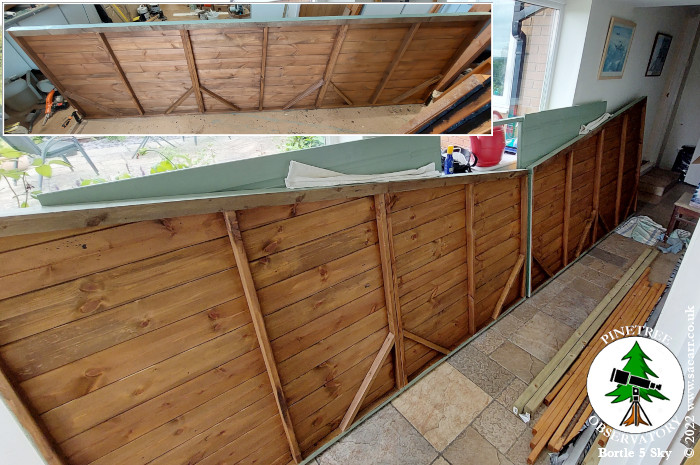
| After that, I began to assemble the roof rear wall, made from sections of the remaining walls that had small windows in them. As it was a security shed, the windows were small, leaving enough solid clad areas to make the panel from. Work continued on this the following day in addition to painting the roof end walls a second coat. When the rear wall was dry, all the screw and nail holes were filled. |
|||
 |
 |
 |
 |
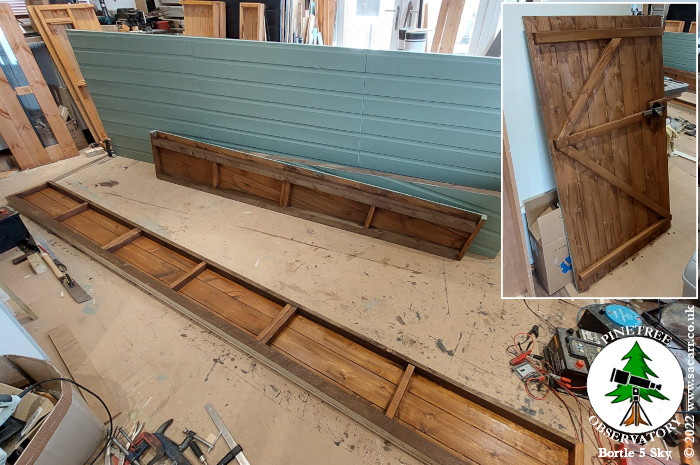
| July 6th & 7th - Needing workshop space, the four main walls would need to be assembled outside on the observatory base. As the inside of the roof on the old observatory went mouldy due to damp, I decided the inside of the new observatory walls would need a coat of shed paint to protect them. I had some brown shed paint left over so the inside walls have been given two coats. |
|||
 |
 |
 |
 |
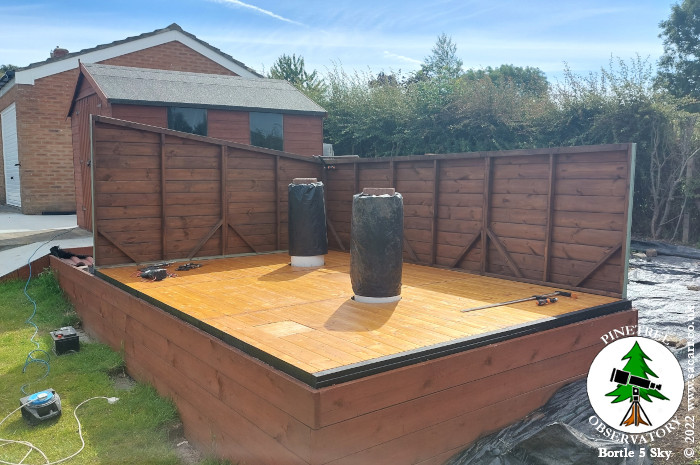
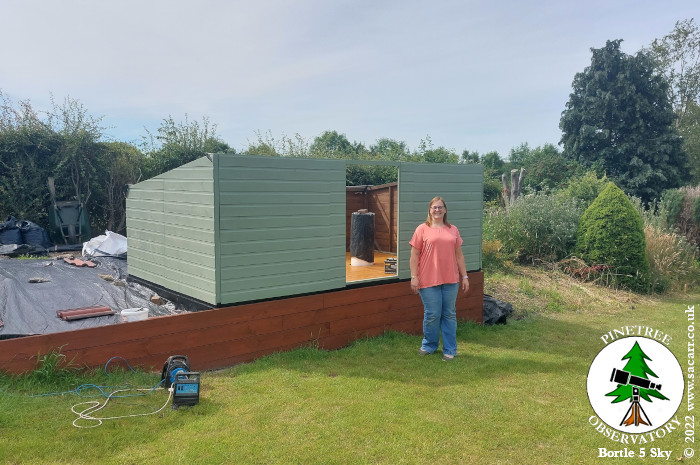
| July 11th - With Lynne working from home for the day, she was available to help to hold the wall panels while they were clamped and then screwed together and to the base. |
|||
 |
 |
 |
 |