|
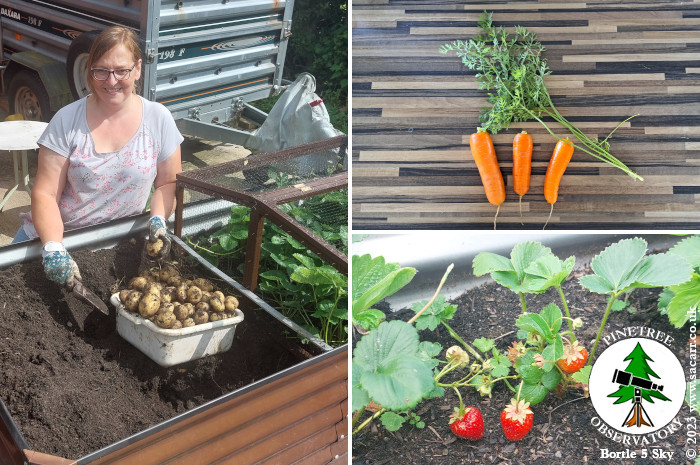
August 20th The veggie planters, which
saw the first seeds planted in May, are now producing well. For a first
time trying to grow veggies, we are quite plased with the results. Since
getting home from our holiday in France, I'd moved around seven bags of
earth into the railway embankment. On the 20th, I decided to have a
final big push to get it finished. With all the rain through July and
early August, the soil in the bags got very wet, despite trying to keep
them covered. As a result, the soil was very wet and the further down
the bag I went, the more sticky and clay like it became. |
|||
 |
It was really hard work digging it out of the bags, into the wheelbarrow, then pushing it down the garden, up the ramp and onto the embankment. It took several hours, but I emptied another eight bulk bags of soil. It was so sticky, I often had to dig it out of the bag, then use a trowel to scrape it off the shovel into the barrow! Based on the volume and soil density, it was approximately four to five metric tons. | 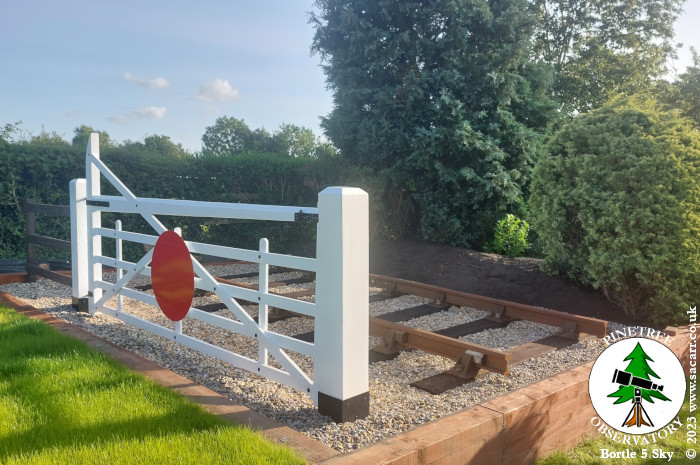 |
|
|
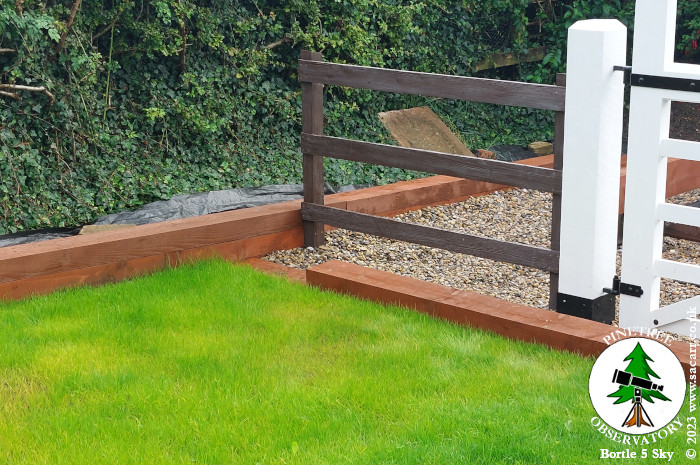
The new lawn is taking hold quite well, though I did overseed some thin areas after getting back from France. While we were away, I think the heavy rain washed the seed off some areas. Looking back towards the observatory, it's looking quite good. For the next part of the job, I need to order another fourteen sleepers for the final top layer of the sleeper wall and thirty six 900 x 600 paving slabs, for along the hawthorn hedge. The day ended with a fireball
sun setting on the West North West horizon, so I grabbed a few phone
pictures over the gate. The last time I did this, there was no ballast
or lawn. |
|||
 |
 |
 |
 |
|
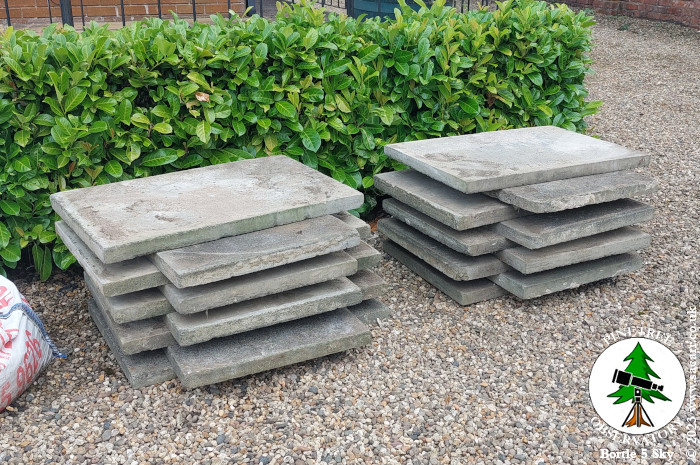
We spent most of Saturday the 26th moving thirty eight, 900 x 600mm paving slabs. We found an architectural salvage yard selling reclaimed paving slabs at around one third to one half the price of new slabs, but unfortunately, they didn't deliver. As a result, we took my flatbed trailer on the 28 mile round trip to collect them ourselves - twice! With a total weight of almost 2,700Kg, we had to split the load, with each round trip to get there, load, get home and unload, taking around two and a half hours. It was back-breaking. August 27th The weather was against me on
the 27th, but I was determined to push on and get the sleepers fitted.
The day was interrupted by frequent heavy rain, so the tools were in and
out of the observatory on a regular basis, since that was the closest
power supply and under cover shelter. Ten sleepers were full length with
another three cut lengths. I ran out of time and dry weather for the
last two short lengths, a four feet and two feet length. I hope to get
those fitted tomorrow. I can then move onto the hawthorn hedge path. |
|||
 |
 |
 |
 |
|
September 7th~15th Over the end of August and the beginning of September, I was away at a World War 2 event, so didn't get back to the garden until the second week in September. With the last two pieces of sleeper fitted just before I went away, I was now moving on to the hawthorn path. I decided the best plan would be to pave the area behind the observatory first. Starting here would give me access from my trailer hardstanding to get materials in. From the end nearest the new lawn, I could then work towards the railway, having a path under me as I worked down to the end. When that was done, I could turn around and work up the garden from the observatory, across the back of the trailer hardstanding and up behind the garage. I started by clearing weeds
and some roots, and cutting the earth back to approximately level. Due
to the fall on the ground, the foundations would slowly need to step up
towards the garage from behind the observatory. The foundations would
need to step down heading the other way to the railway. |
|||
 |
 |
|
|
| I didn't want to dig out and dispose of tons of topsoil, only to buy in tons of hardcore to replace it. Youtube to the rescue! I watch a video on paving which explained what civil engineering projects do, including Heathrow's Terminal 5. Rather than digging out earth and replacing it with hardcore, they use a machine to break up the existing earth, mix cement into it and then pack it down again. The same video then showed the same technique at a small scale for his garden path. His test sample was as hard as concrete. |
|||
 |
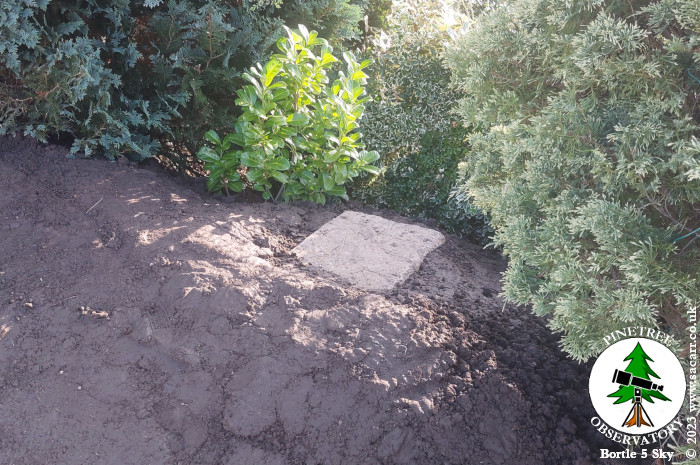
Our soil has quite a lot of clay in it ( along with tree roots, stones, coal and bricks! ), and it is now quite wet and not easy to dig or mix. So I've spent the morning making a tool! A quick test in the border near the kitchen showed it to work, followed by a second test in the path location ( seen in the Before & After picture ). It worked well, even in the hard packed clay. Larger tree roots and bricks will need digging out, but that's easier when the surrounding area is broken up. | 
|
|